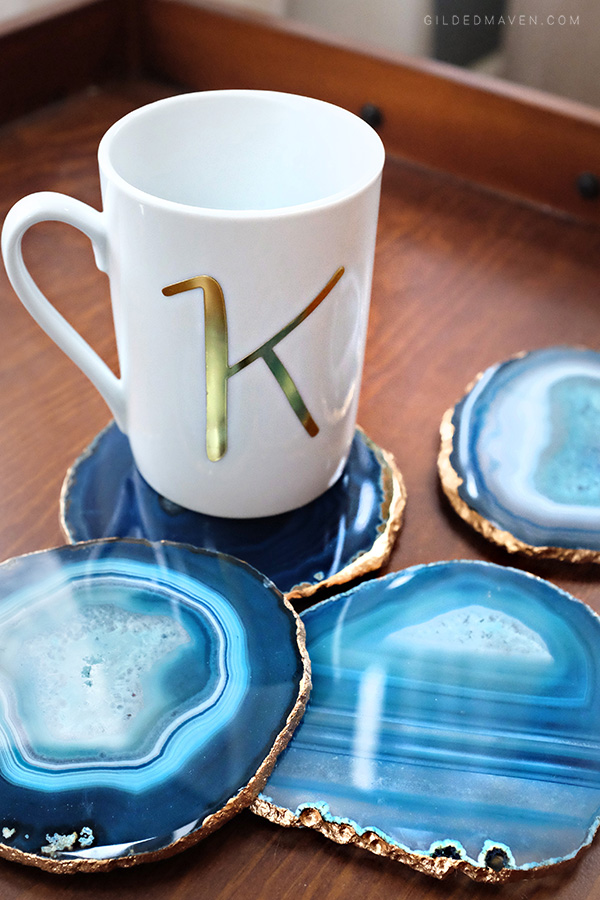
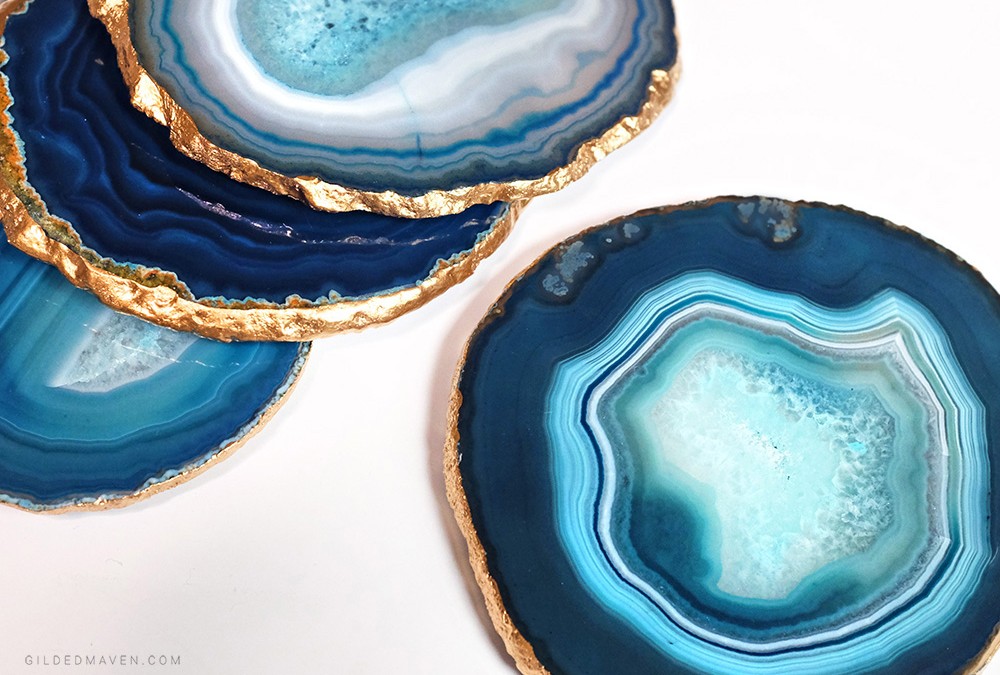
Maybe you’ve seen these gorgeous, super trendy, gold-laced agate slice coaster sets at Anthropologie for around $100. If you look elsewhere, the prices skyrocket from $200 to over $400 for a set of these simple beauties. All for what? So you have a fabulous place to set your glass of bourbon? Fair enough, I suppose.
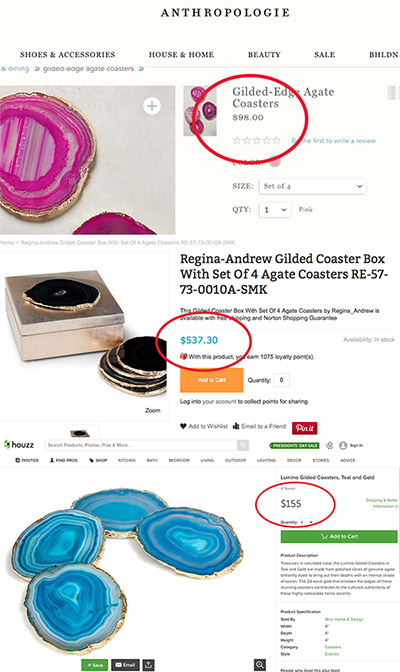
Well I have a MUCH better idea. Let’s spend under $40 and make them ourselves. Sound good? I thought so.
This is a fairly easy project that will only take about 30 minutes.
YOU WILL NEED:
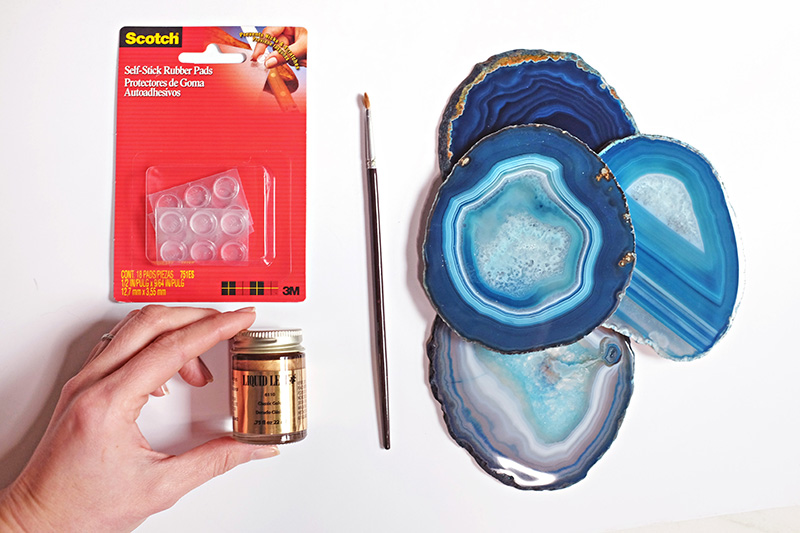
Agate slices with a 4 – 4.5″ diameter in whatever color you choose. (No smaller than 4″ otherwise average glass sizes will not fit. THIS SELLER on eBay is great! Aim for rounder shapes.)
Scotch Self-stick CLEAR Rubber Pads (It is important that they are clear due to the translucent nature of agate. You don’t want to see them through from the top.)
‘Plaid’ brand Liquid Leaf in Classic Gold (found at most craft stores)
A small paintbrush, paper towels and acetone (to clean the paintbrush afterwards)
First, you will need to choose which side is the top. Most agate slices are cut at a slight angle, so I would choose the side in which the edges are most seen. This way the gold leaf will be noticeable from the top.
Once you decide the top, place four of the clear, rubber feet on the bottom side in a square to ensure the edges are equally supported.
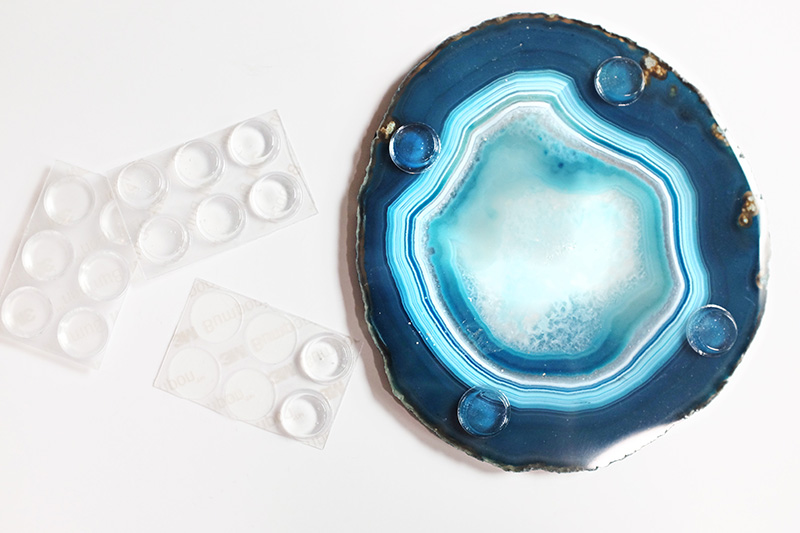
It is important to adhere the feet on first because it will raise the agate off of the work surface and make it much easier to paint and to dry. If you purchase a different brand than the ones shown in the picture, just be sure that they are no more than 2mm thick. These clear rubber feet are really awesome because they provide grip and stability when entertaining. Some stores only use cork on the bottom of theirs which doesn’t allow subtle light to pass through the agate or they use felt which can slide on the table.
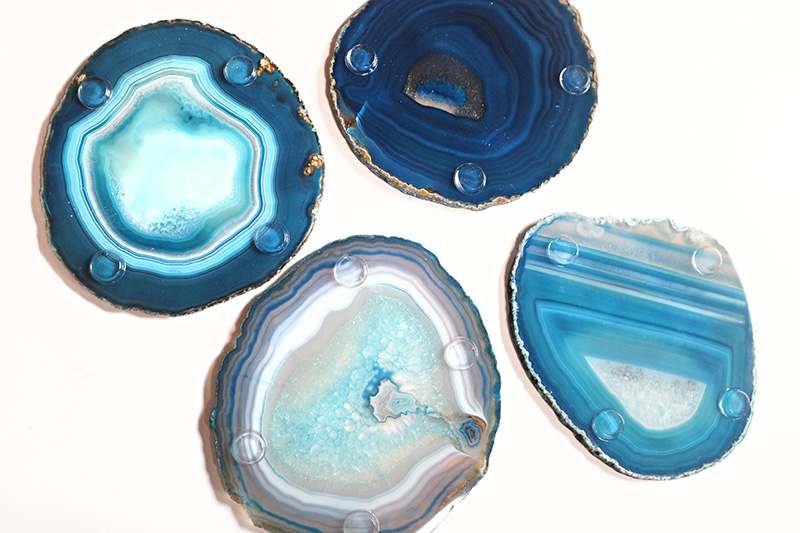
Before you begin to paint it is very important to thoroughly shake the Liquid Leaf so that the metallic color is distributed evenly and has the correct consistency. I recommend doing this project in a well ventilated area. The fumes are quite potent.
You will need to use a very small paintbrush to allow maximum control around the edges.
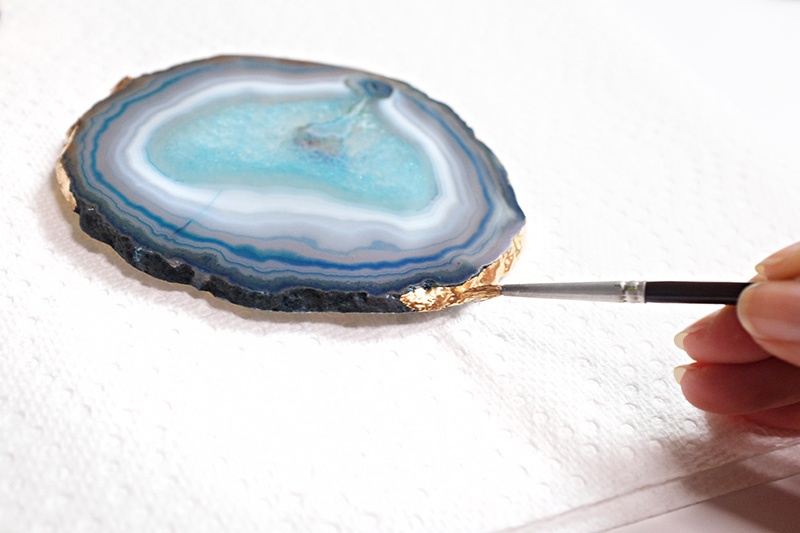
Paint only the rough surface of the edges around each agate slice being careful to not paint the polished top. (Do not stress about the bottom unless you are terribly particular!) Let dry for an hour and if needed, paint a second coat. I didn’t need to!
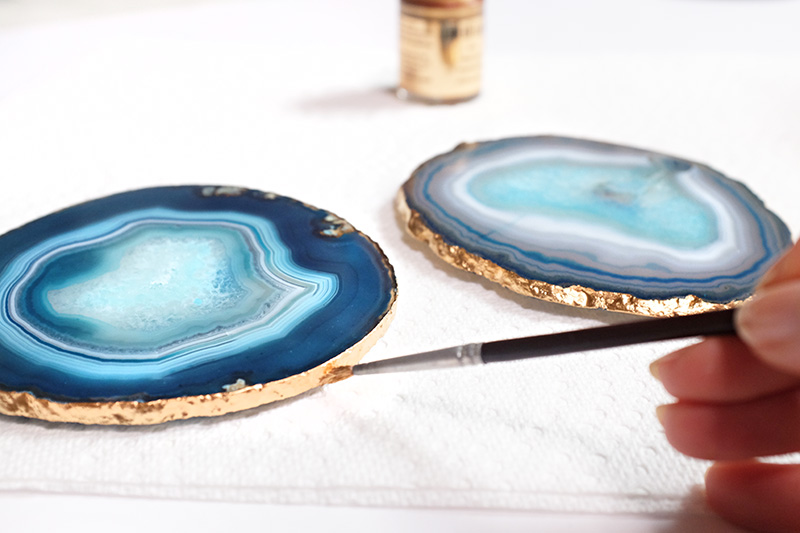
You may clean your brush with acetone/nail polish remover. I found this to be easiest because I had it readily available in my house. I simply used a cotton ball to clean it as I would with my nails. The paint is not water soluble therefore soap and water will not work.
Be patient and let each piece dry thoroughly!
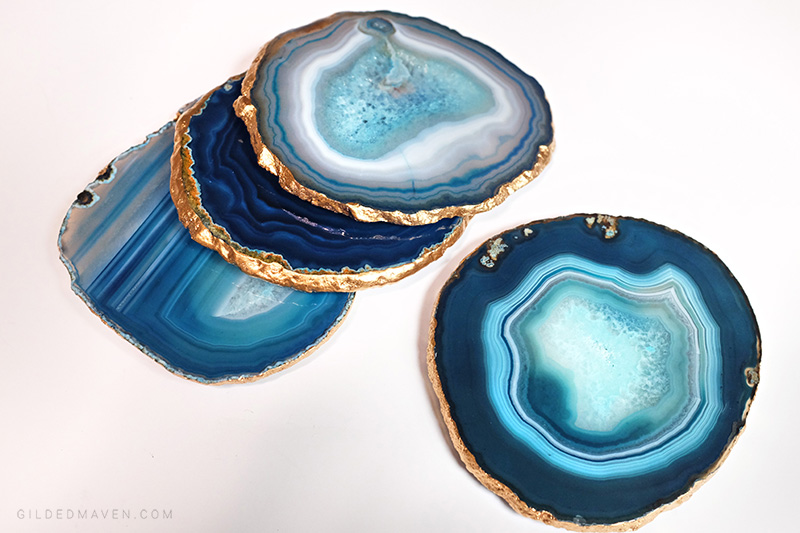
Tadaaaa! Look how fancy you are!
These make a GREAT gift idea for anyone on any occasion! I think I may get another set of four in a different color so I can mix & match! Get creative!
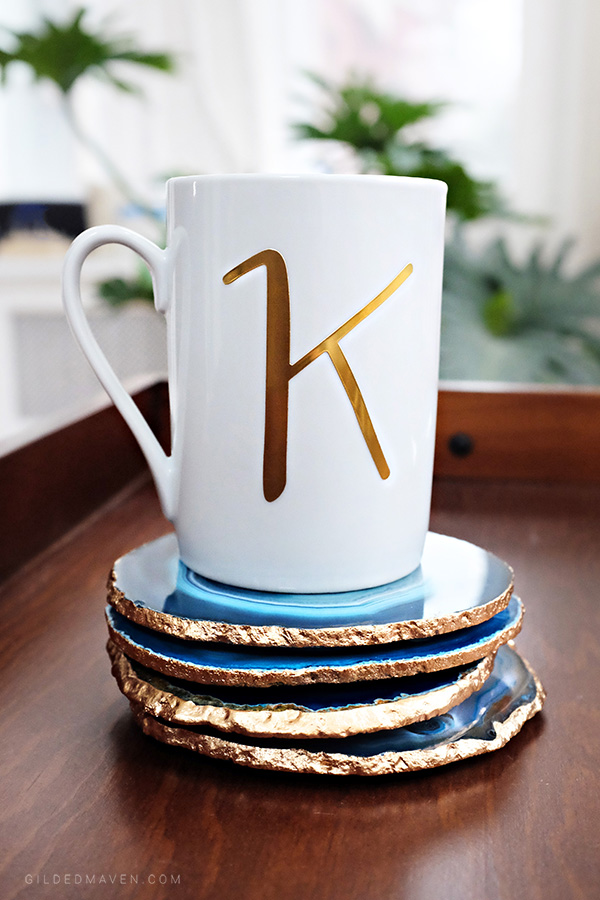
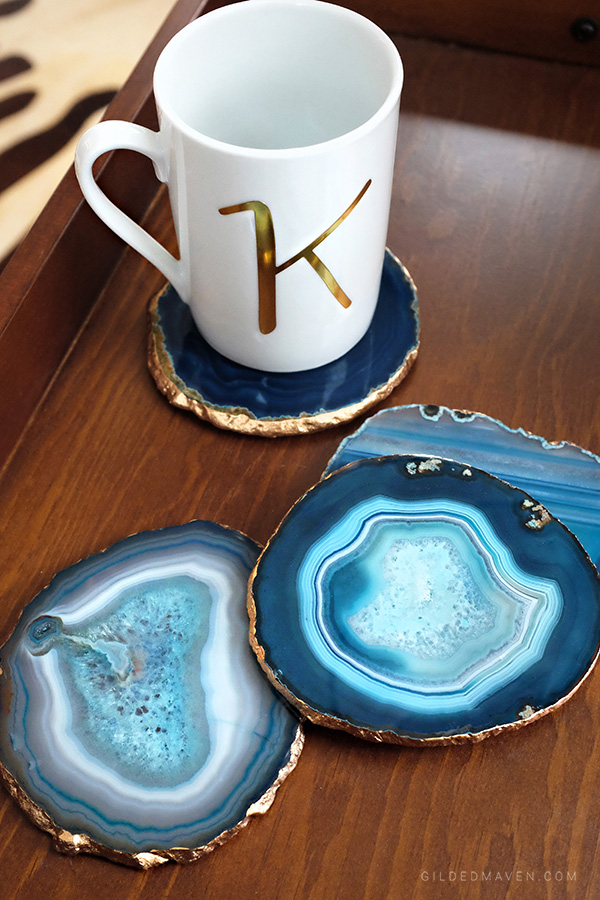
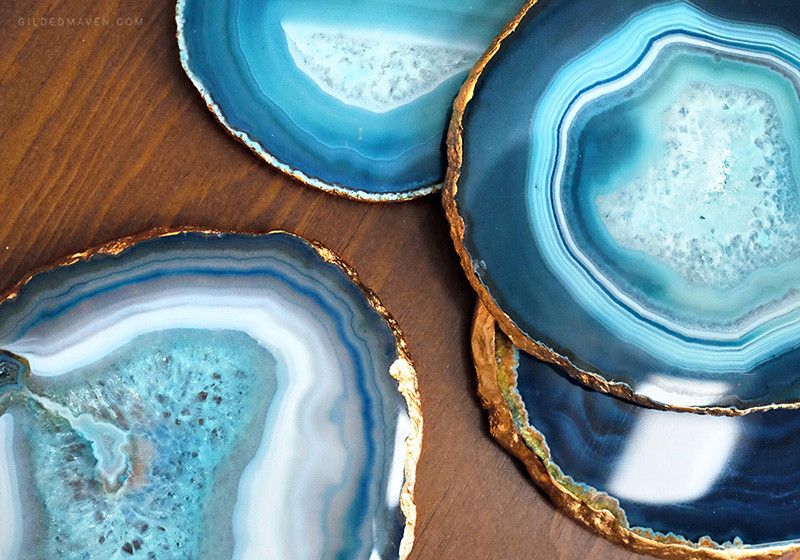
Just think of what a classy accent they make to your living room or bar cart!
Let me know what you think in the comments!
Stay Chic!

Ps. Did you love this and wanna try it later? PIN IT to your Pinterest board!

 My name is Catherine Kung and I am here to give you your daily dose of eclectic, southern inspired fashion with a side dish of clever ideas and lifestyle tips! This country-raised city girl is so thrilled you stopped by. (I sure do hope you like your tea sweet.)
Absolutely gorgeous!!! You have the best DIY projects!
I’m so thrilled you like it Berkley! Thank you so much!!!
Love! I now know what I’ll be doing this weekend!!
YAY!! Yes! You have to let me know how it goes!! Xoxoxo
I am obsessed with these, can you just make them for me please?
I adore them… Thank you!